
Electrical wiring is a critical component of any building, whether residential, commercial, or industrial. Ensuring the safe installation of a wiring panel is not only essential for the functionality of electrical systems but also for the safety of everyone who uses the facility.
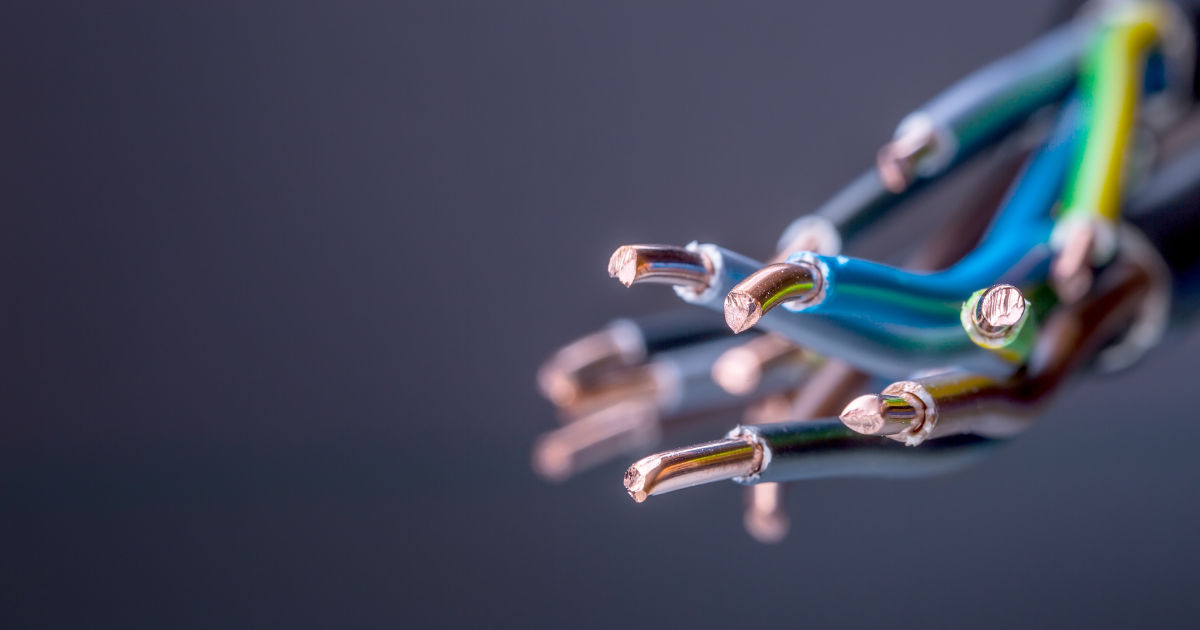 In this guide, we will discuss the step-by-step process for wiring panel installation, highlighting safety measures, tools, and best practices.
Choosing the right materials is a vital part of this process, and AGE Cables Supplier provides high-quality cables that can enhance safety and performance in your electrical projects.
Understanding Wiring Panels
A wiring panel, also known as a distribution board or breaker panel, is the heart of any electrical system. It distributes electricity from the main power source to various circuits within a building. Modern panels include circuit breakers or fuses to protect against overcurrent, preventing electrical fires and equipment damage. Understanding how a wiring panel functions and the types of panels available is the first step toward safe installation.
Types of Wiring Panels
-
Main Breaker Panels – These panels have a main breaker that controls the flow of electricity to the entire system.
-
Sub-Panels – Used when additional circuits are required, sub-panels are connected to the main panel and provide power to specific areas.
-
Fuse Panels – Older systems may use fuses instead of breakers. While less common, understanding how to handle fuse panels safely is important.
Essential Tools and Materials
Before starting a wiring panel installation, gather the right tools and materials. Proper preparation minimizes mistakes and improves safety.
Tools Required
-
Screwdrivers (flathead and Phillips)
-
Wire strippers and cutters
-
Voltage tester or multimeter
-
Drill with assorted bits
-
Fish tape or wire pullers
-
Level and measuring tape
Materials Required
-
Wiring panel or distribution board
-
Circuit breakers
-
Electrical wires (recommend sourcing from a reliable AGE Cables Supplier)
-
Conduits and fittings
-
Mounting screws and brackets
-
Safety gear (gloves, goggles, and insulated tools)
Safety Precautions Before Installation
Safety should always be the top priority when working with electricity. Follow these precautions:
-
Power Off – Ensure that the main power supply is completely turned off before starting work.
-
Verify Power – Use a voltage tester to confirm that the circuit is dead.
-
Wear Protective Gear – Use insulated gloves, goggles, and safety shoes to avoid accidental shocks.
-
Work in a Dry Area – Never install wiring panels in damp or wet conditions.
-
Follow Local Codes – Always adhere to local electrical codes and regulations for safety and compliance.
Step 1: Plan Your Wiring Layout
Proper planning reduces errors and ensures efficient electrical distribution.
-
Identify the location for the wiring panel, ideally in an accessible, dry, and ventilated area.
-
Determine the number of circuits required for your building.
-
Plan the routing of wires to minimize lengths and avoid crossing obstacles.
-
Choose the appropriate wire gauge and type, preferably from a trusted AGE Cables Supplier to ensure quality and safety.
Step 2: Prepare the Installation Site
Preparing the installation site sets the foundation for a smooth setup.
-
Clear the area of any obstacles and ensure enough space for the panel and wiring access.
-
Mark the wall for mounting the panel at a comfortable height (usually 4-5 feet from the floor).
-
Use a level to ensure the panel will be mounted straight.
-
Drill holes for screws and conduit fittings.
Step 3: Install the Wiring Panel
Proper mounting of the wiring panel is critical for stability and safety.
-
Secure the panel to the wall using appropriate screws and anchors.
-
Ensure the panel door can open fully without obstruction.
-
Verify that the panel is level and stable.
-
Label the panel location for future reference.
Step 4: Run Electrical Wires
Running wires through conduits ensures organized and safe wiring.
-
Use conduits to protect wires from mechanical damage.
-
Run wires from the main power source to the panel and from the panel to individual circuits.
-
Maintain proper wire separation to prevent interference or overheating.
-
Strip wires carefully and avoid nicking the copper, which can cause weak points.
-
Always choose wires from a reputable AGE Cables Supplier to avoid inferior quality that can lead to hazards.
Step 5: Connect the Grounding System
A proper grounding system is essential for safety.
-
Connect the panel’s grounding bus to a reliable grounding rod.
-
Ensure that all metallic parts of the panel and conduits are properly grounded.
-
Use appropriate wire sizes for grounding to comply with electrical codes.
Step 6: Install Circuit Breakers
Circuit breakers protect electrical circuits from overloads and short circuits.
-
Insert each circuit breaker into the designated slot.
-
Connect wires to the correct terminals on the breaker.
-
Ensure tight and secure connections to prevent arcing.
-
Label each breaker for its corresponding circuit for easy identification.
Step 7: Inspect and Test Connections
Inspection and testing are crucial before powering up the system.
-
Double-check all connections for tightness and correct placement.
-
Use a multimeter to test continuity and voltage levels.
-
Verify that grounding connections are intact and functional.
-
Inspect for exposed wires or loose screws that could pose hazards.
Step 8: Power On and Monitor
Once the system is installed and tested, carefully power it on.
-
Switch on the main breaker first, then individual circuit breakers.
-
Monitor for unusual sounds, sparks, or tripped breakers.
-
Check voltage at various outlets to confirm proper distribution.
-
Correct any issues immediately before using the system extensively.
Maintenance Tips for Safety
Even after a successful installation, regular maintenance is essential to prevent hazards.
-
Periodically inspect the panel for corrosion, dust, or loose connections.
-
Test breakers and fuses regularly to ensure functionality.
-
Replace worn or damaged wires immediately, preferably sourcing replacements from a trusted AGE Cables Supplier.
-
Keep the area around the panel clean and dry.
-
Update labels and diagrams whenever new circuits are added.
Common Mistakes to Avoid
Avoiding common mistakes can save time, money, and prevent accidents.
-
Using low-quality wires or breakers
-
Ignoring local electrical codes
-
Overloading circuits
-
Neglecting proper grounding
-
Working without protective gear
Why Quality Materials Matter
Using high-quality materials is not just about durability; it directly impacts safety. Cables from a trusted AGE Cables Supplier are manufactured to meet stringent safety standards, reducing risks of overheating, short circuits, or fire hazards. Investing in quality ensures a reliable electrical system that can withstand long-term use.
Advanced Tips for Efficient Installation
-
Use color-coded wires to simplify identification and troubleshooting.
-
Label both ends of each wire to prevent confusion during maintenance.
-
Keep a wiring diagram for future reference.
-
Consider surge protection devices for sensitive equipment.
-
If unsure, always consult a licensed electrician for guidance.
Conclusion
Installing a wiring panel safely requires careful planning, the right tools, and strict adherence to safety protocols. By following the steps outlined in this guide, you can ensure a secure and efficient electrical system in your home or workplace. Choosing high-quality materials, such as cables from a trusted AGE Cables Supplier, further enhances safety and reliability. Regular maintenance and inspection are essential to keep your electrical system functioning smoothly for years to come.
Whether you are a DIY enthusiast or a professional, safety should always come first. Following proper installation steps, using reliable materials, and adhering to electrical codes will prevent accidents, ensure compliance, and create a dependable electrical setup for any building.